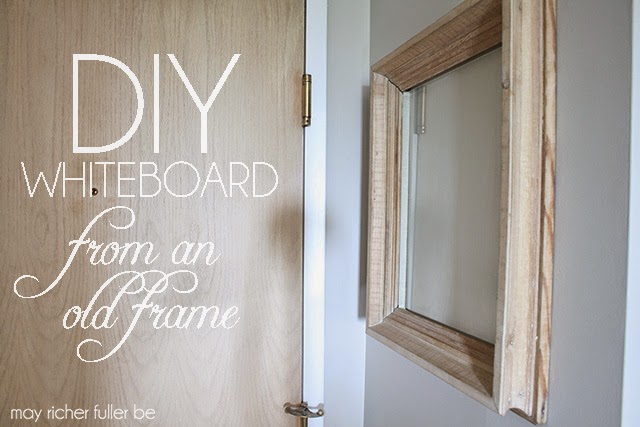
I left y'all with a little teaser about a project I was working on at the very end of yesterday's post about our entryway. I had a chance to finish it up and photograph it when I got home from work yesterday, so I get to share it with you lovely folks today! This little DIY project was actually inspired by my husband (hey C!). He requested that we have some sort of whiteboard in our house where he could write down ideas and brainstorm about various happenings in our lives. I thought it was a great idea and I knew I would probably use it too.
But, one problem. Whiteboards just aren't that pretty, so there was no way I was going to bring a traditional whiteboard into our house. No dorm room or classroom-style whiteboards here, please.
So I set out to find an alternative that was a little more aesthetically pleasing (if ya know what I mean) - and I found it in the form of an old chunky wood frame at an estate sale a few weeks ago.
I absolutely adore the character and imperfections. It definitely has a hand-hewn look and most likely held a piece of art at some point in its life. I knew the frame would look fabulous hanging on its own, and that made it perfect a perfect candidate for a whiteboard. Now all I needed was a piece of glass - since you can write on that with dry erase markers - so it could actually function as a whiteboard.
I could have had a piece of glass cut (the frame is not a standard size), but decided to go the thrift store route first to see if I could find a cheap, ready-made piece.
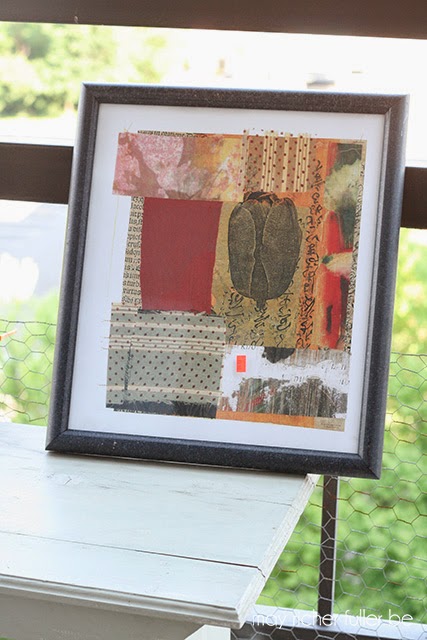
The Habitat for Humanity ReStore came to the rescue in the form of this lovely (don't you think?) piece of art below ($5). The glass fit the frame nearly perfectly, and since it was so cheap - and not terribly attractive - I had no reservations about tearing out the art and tossing the frame.
As for how I attached the glass to the frame, I chose the classy way, of course: duct tape. It's not the silvery stuff though (phew!) - it's "fancy" duct tape that has a linen look to it. You can see my method for attaching the glass to the frame below. I just laid down strips of the tape along each of the four sides, pressing it down along the glass and the frame to secure it. Told you it was classy :). Seriously though, from the front, it looks like I wrapped the inner edges of the frame in fabric. It's pretty amazing stuff. You can just see the edge in some of the photos of it hanging on the wall.

Since the frame didn't have any hanging hardware on it, I attached a D-ring to each side. I didn't want it to shift at all once it was on the wall (since that would make it hard to write on), so having a D-ring on either side kept it level.
I used two of these screw hooks to hang the frame on the wall. They're supposed to hold 60 lbs a piece, so I think they're strong enough for this guy (yep, I decided the frame is a male). Can't hurt to be over-cautious, right? ;)
Here he is, hanging all nice and pretty, right by the front door.
I even tried him out with a little list of items I didn't want to forget...
He fits right in. I think we'll keep him :).
Oh, and in case you're wondering, I used a modified version of this strategy for making sure the frame was level when I hung it. It was super easy! If you want more details, let me know and I'll write up a post about my method.
---------
linking up to: DIY Showoff, Rain on a Tin Roof, Home Stories A to Z, Uncommon Designs, If It's Not Baroque, Liz Marie Blog, House of Hepworths, Blissfully Ever After, Design, Dining and Diapers, Crafty Scrappy Happy, Craftberry Bush, The Shabby Creek Cottage, Tatertots and Jello, Serenity Now, It’s Overflowing, House of Rose, Love of Family and Home, Dear Creatives, Madigan Made, First Home...Love Life, Simply Dream and Create, Whipperberry


Very pretty! Much better than a dorm room style plastic one. Thanks for sharing.
ReplyDeletecreativeramblingsblog.com
Thanks, Sarah!
DeleteIf truth be told informative and valuable detail is here.ReMARKable dry erase board
ReplyDeleterely on today as well as what it will probably be later on years. The expense of upgrading and changing the custom logo planning of your organization can be an overwhelming undertaking. This logo will be your business character for quite a while to come so it is important to reconsider and appropriately do it once. logo design service
ReplyDeleteIt’s easier for me to turn to online therapy than to endure the fact that self-esteem has fallen, because of self-depricating I read this blog about self-deprecation, and I understood everything about it, which turned out to be useful
ReplyDelete